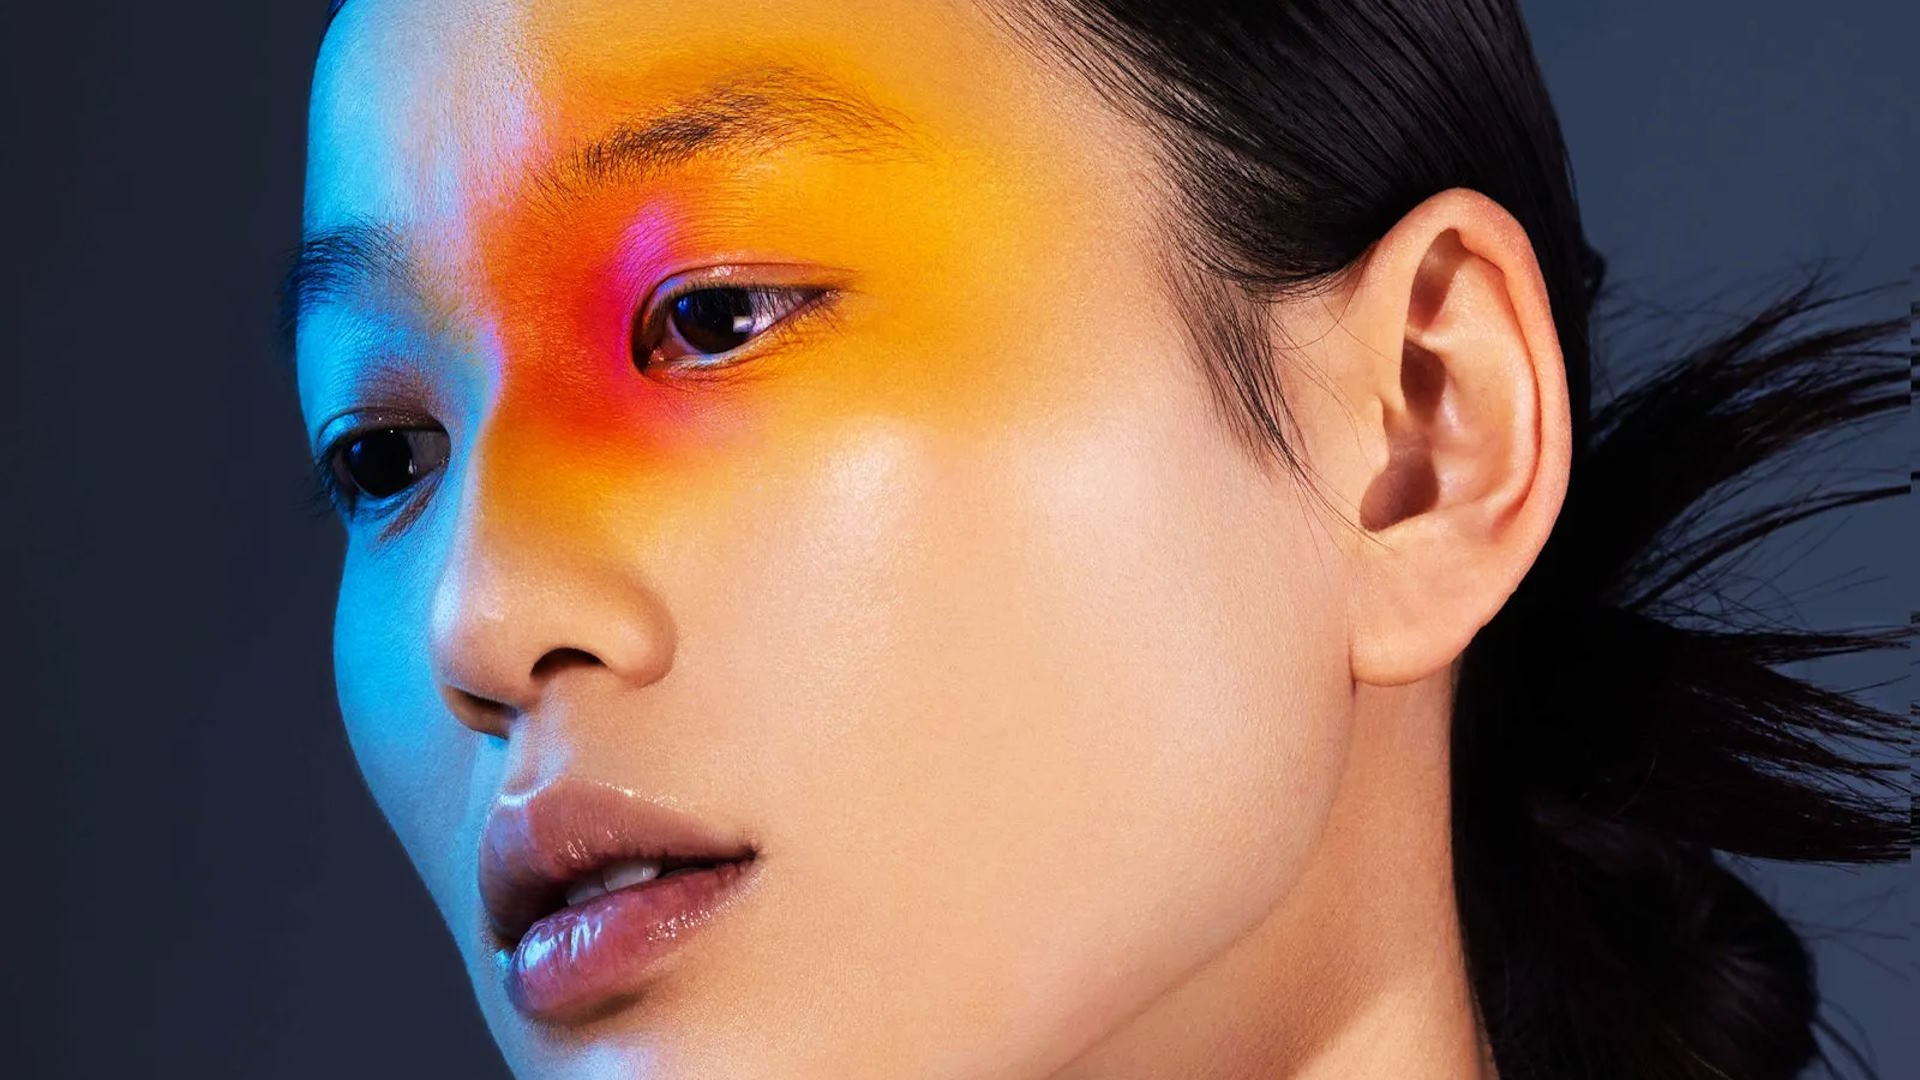
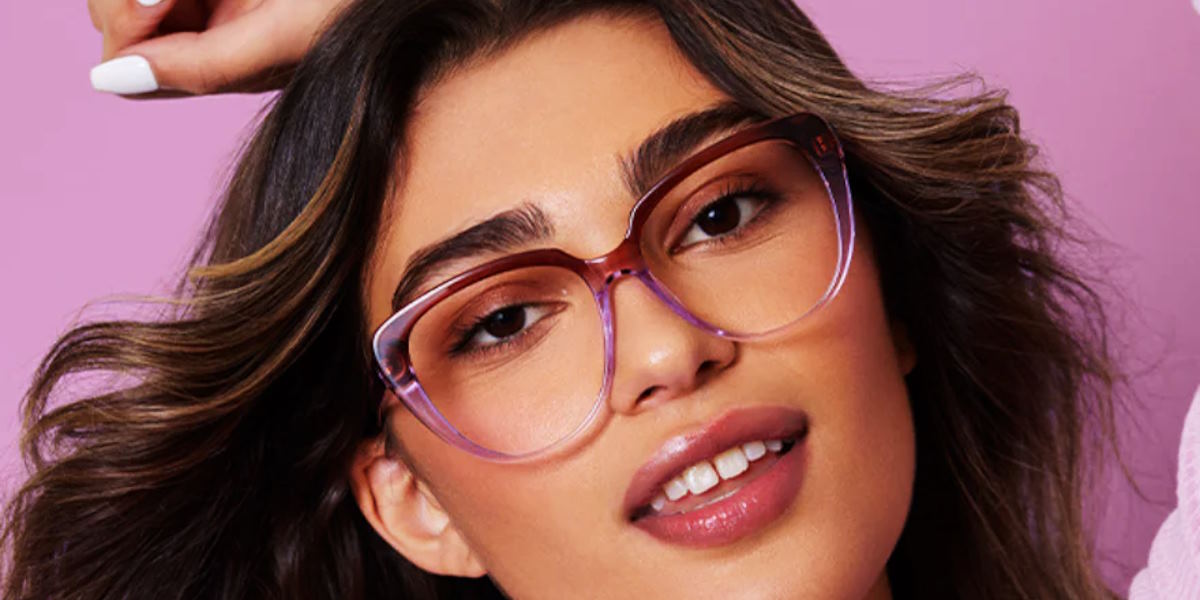
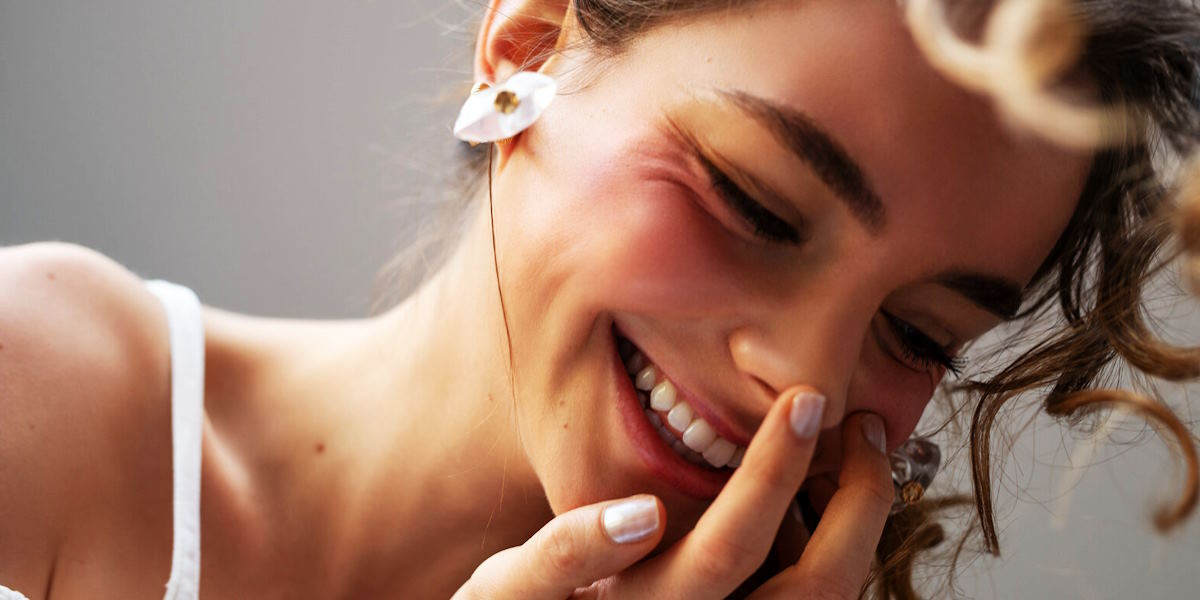
When you think of portraits, what comes to mind? A soft, natural look or something more daring? Bold makeup can be the secret ingredient that takes a simple photograph and turns it into a masterpiece. Imagine your favorite portrait—now, picture it with vivid, attention-grabbing eyes and lips that demand attention. That’s the power of bold makeup. It’s like adding a splash of color to a black-and-white photo, making the entire image come alive.
Step 1: Perfecting the Canvas – Your Skin
Before applying bold makeup, you need a smooth, flawless base to work with. Think of this like preparing a canvas before painting: the better the canvas, the better the painting will turn out. A clean and hydrated face will help the makeup adhere better and look more polished.
Here’s how to prep your skin:
- Cleanse: Start by washing your face to remove dirt and oil. Use a gentle cleanser that suits your skin type.
- Moisturize: Apply a hydrating moisturizer to keep your skin fresh and smooth. This will help prevent your makeup from looking dry or patchy.
- Prime: Use a primer that smooths the skin and helps your makeup last longer. This step is key for making sure that bold makeup stays in place throughout your photoshoot.
Once you’ve got your skin prepped, it’s time to build your base.
Step 2: Creating the Bold Look – Eyes, Lips, and Brows
When it comes to bold makeup, the eyes, lips, and brows are the stars of the show. You don’t need to go overboard with every part of your face—focus on one or two areas, and let them steal the spotlight.
Bold Eyes: The Focal Point
Your eyes are usually the first thing people notice in a portrait, so they should definitely stand out. Here are a few tips for creating bold eyes that pop:
- Smoky Eyes: This is a classic bold look that can be customized with any color. Darker shades, like black, brown, or navy, create drama, while colors like purple or deep green give a fun twist.
- Graphic Liner: If you want to go edgy, graphic eyeliner is a perfect choice. It’s a bold, clean line that draws attention and adds definition to your eyes. Try a sharp cat eye or a double wing for an artistic touch.
- Statement Lashes: Long, voluminous lashes can completely transform the eyes. You can use false lashes or a voluminous mascara to give your eyes that wide, doe-like appearance.
Bold Lips: Making a Statement
Your lips can be just as bold as your eyes. A strong lip color can add balance and drama to your look. Here are some ideas:
- Bright Red: A classic red lip never goes out of style. It’s bold, elegant, and timeless.
- Berry Tones: Deep berry colors, like plum or wine, create a sultry, rich look.
- Funky Colors: Don’t be afraid to play with colors like electric pink, orange, or even black. Bold lip shades are a great way to show off your personality in a portrait.
Bold Brows: Framing the Face
Bold brows are key to framing your face and enhancing the overall look. Strong, well-shaped brows add structure and balance to your portrait, so don’t skip this step!
- Full Brows: If you have thinner brows, consider filling them in with a pencil or powder. Make sure to blend well for a natural look.
- Sharp Arches: If you want a bold, defined look, try emphasizing your arch with a brow pencil or gel.
Step 3: Sculpting the Face with Blush and Contour
Contouring isn’t just for high fashion—it’s a great way to sculpt your face and add definition, especially in a portrait. The goal is to highlight the natural bone structure, so you can look your best in photos.
- Contouring: Use a contour powder or cream that’s a few shades darker than your skin to define your cheekbones, jawline, and nose. Blend well to avoid harsh lines.
- Blush: Choose a blush that complements your makeup and skin tone. A peach or rose blush works well for most people. Apply it to the apples of your cheeks to give a healthy, flushed look.
- Highlight: Apply a highlighter on the high points of your face—your cheekbones, brow bone, and the bridge of your nose. This adds a natural glow and catches the light in your portrait.
Step 4: Setting Your Makeup
Now that you’ve created your bold look, you want to make sure it stays put during the photoshoot. Here’s how to set your makeup for long-lasting wear:
- Setting Powder: Use a translucent setting powder to lock everything in place. Focus on areas that tend to get oily, like the T-zone.
- Setting Spray: A setting spray helps your makeup stay fresh throughout the shoot. It also adds a dewy finish, giving your face a healthy glow.
Step 5: Photography Tips for Bold Makeup
Now that you’ve got your bold makeup on, it’s time to think about how to photograph it. Lighting plays a huge role in how your makeup appears in portraits, so it’s important to keep a few things in mind.
- Lighting: Natural light is always flattering, but if you’re using studio lighting, make sure it’s soft and diffused. Harsh lighting can make bold makeup look too intense or washed out.
- Angles: Experiment with angles to find the one that best showcases your bold makeup. Tilting your head slightly or turning your body to the side can highlight your features.
- Camera Settings: A higher contrast in your camera settings can make bold makeup pop, especially when using dark eyeliner or bright lips. Talk to your photographer about adjusting settings to make sure your makeup stands out in the final shot.


 Shirley combines her love for photography and design to curate a blog that inspires creativity in every frame. From event planning ideas to capturing candid moments, she covers it all. Shirley’s artistic vision encourages her readers to find and celebrate beauty in both everyday and extraordinary occasions.