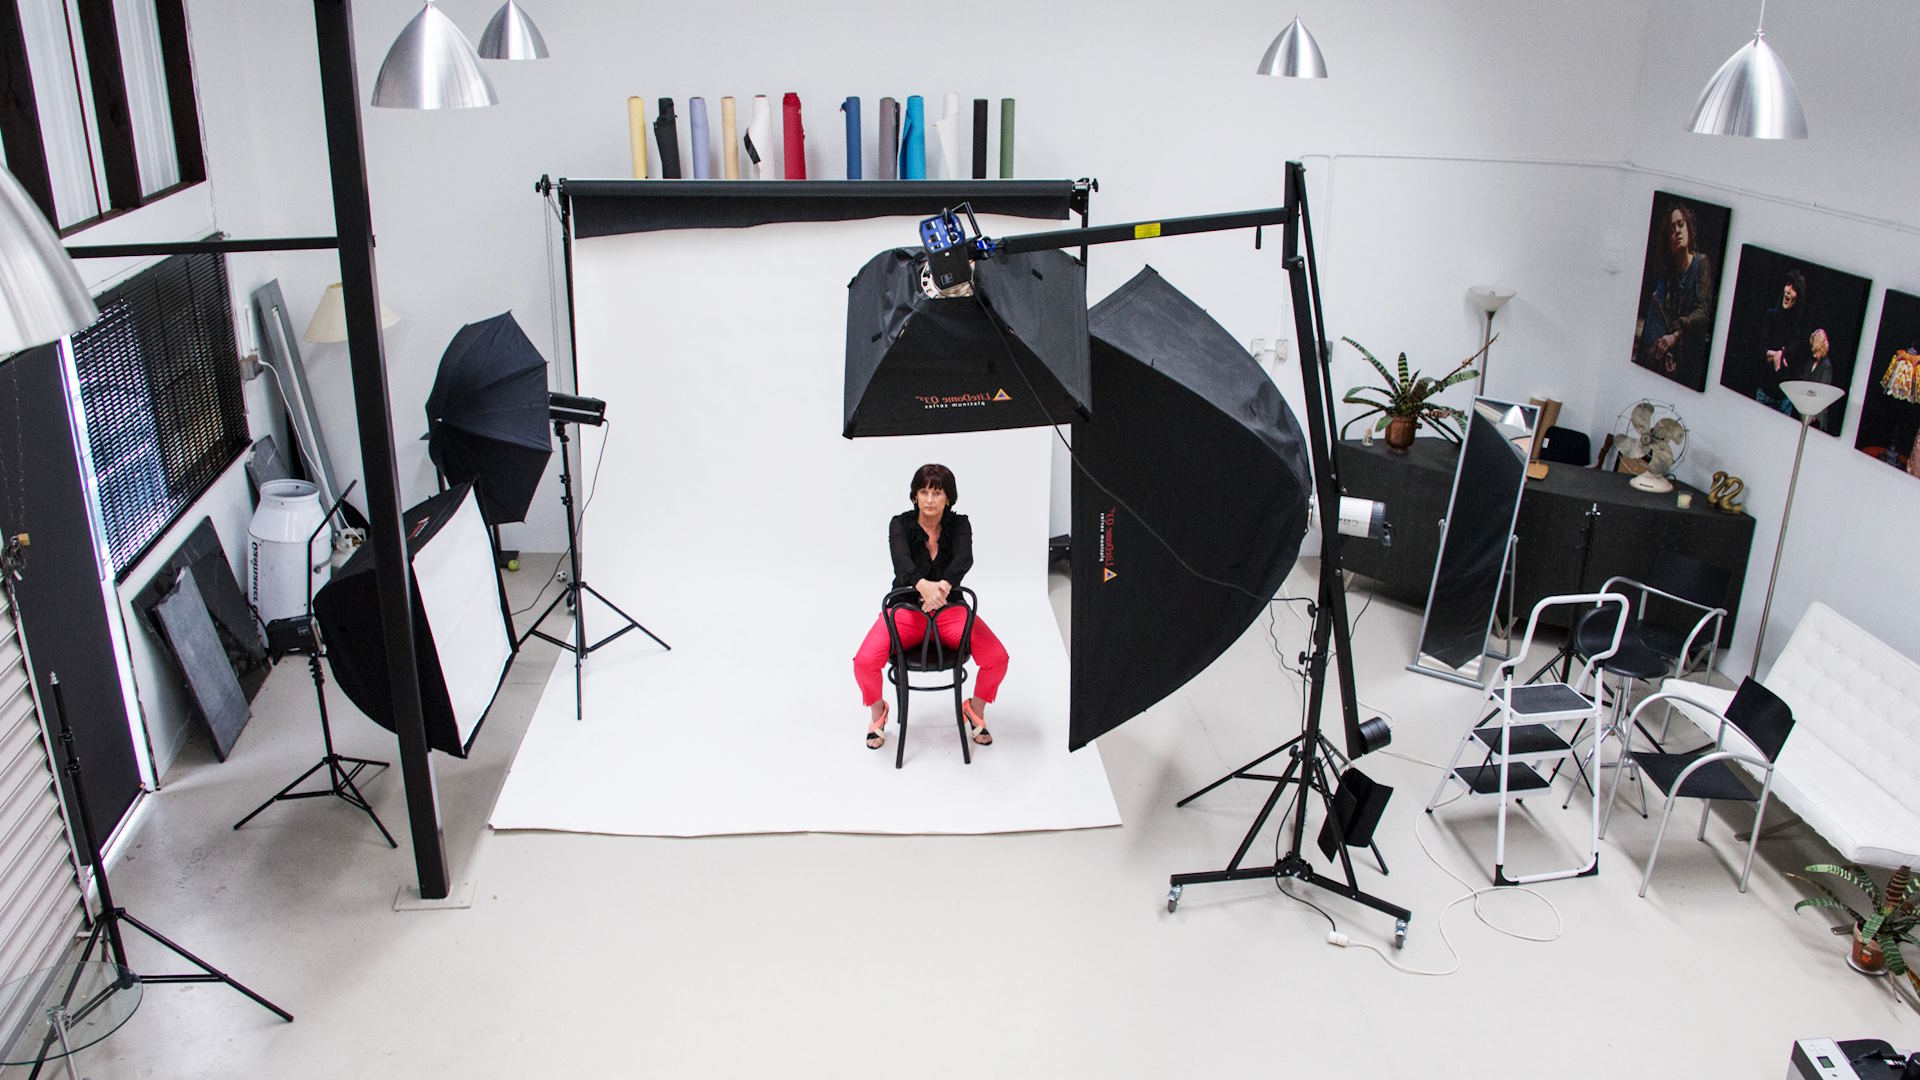
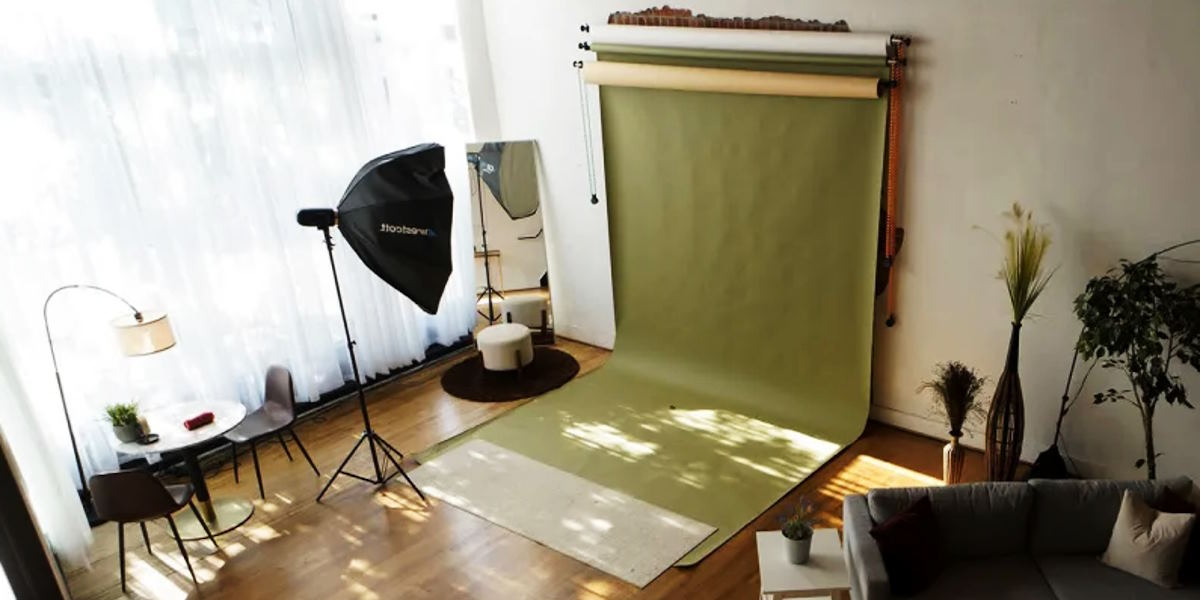
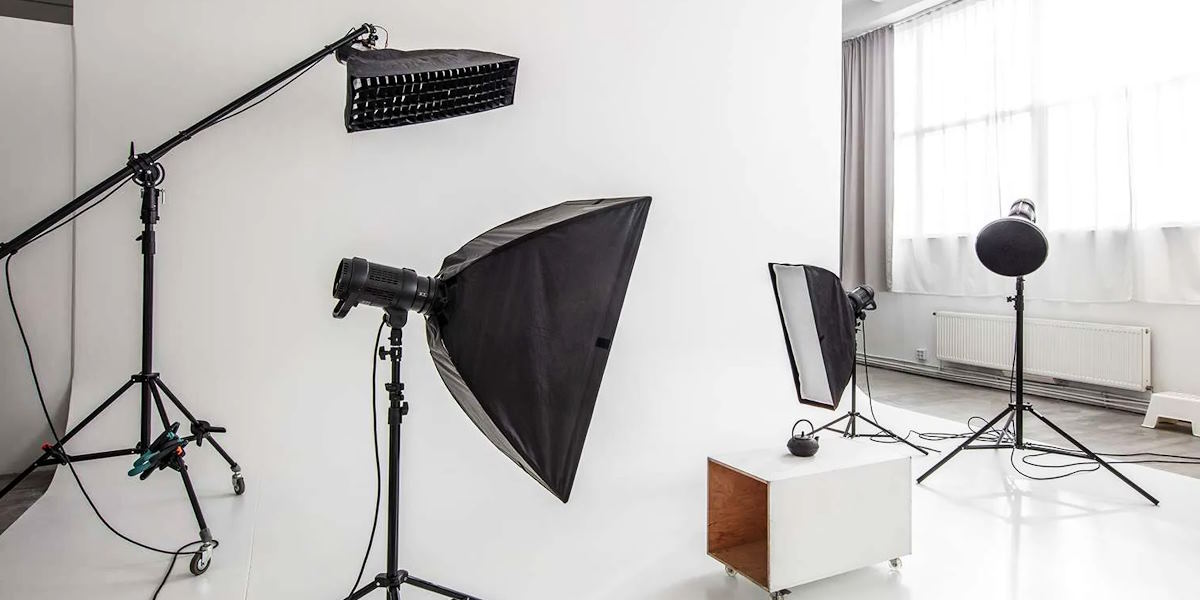
If you’re a budding photographer or just love taking great pictures, setting up a home studio can be one of the best decisions you make. But here’s the good news: you don’t need to spend a ton of money to get started! Think of it as building your dream workspace, one piece at a time. From using natural light to getting creative with props, there are plenty of ways to make it all work without draining your wallet.
Assess Your Space: Finding the Perfect Spot
Before you start buying equipment or gathering materials, you’ll need to figure out where your studio will be. Do you have a spare room? Or maybe just a corner of your living room or bedroom? No matter how small your space is, you can work with it.
If you’re working with limited space, think of your photography studio like a kitchen in a small apartment. It doesn’t need to be huge, just functional. The key is to make the most of what you have.
Here’s what you should consider:
- Natural light: Look for a place with good natural light. A large window is a photographer’s best friend! Natural light can create soft, flattering effects, especially for portrait shots.
- Room size: Even a small area can work. If you’re shooting portraits, you don’t need a massive backdrop—just enough room for your subject and camera setup.
- Clutter: Keep the space as clean and uncluttered as possible. A messy background can distract from your subject.
Lighting: The Heart of Photography
Lighting is probably the most important aspect of photography, and luckily, you don’t need a fancy studio light setup to get great results. Let’s talk about some budget-friendly ways to light your photos.
Natural Light: The Free Option
If you’re just getting started, natural light can be your best friend. Find a large window or any source of sunlight in your space and make it work for you. The key here is to control the light by using reflectors or diffusers.
- DIY Diffuser: Use a sheer white curtain or even a white bedsheet to soften the light coming through the window.
- Reflector: A simple piece of white cardboard or foam board can bounce light back onto your subject, creating a soft, flattering effect.
Artificial Light: Budget Options
If you can’t rely on natural light, there are budget-friendly alternatives:
- Softboxes: You can get a softbox lighting kit for under $50. These will diffuse the light, giving you soft, even lighting for portraits and still life photography.
- LED lights: Affordable LED panels or ring lights can also do wonders. Look for ones with adjustable brightness and color temperature so you can control how warm or cool your lighting looks.
Camera & Gear: Make the Most of What You Have
A lot of people think they need to own a high-end DSLR camera to take professional photos, but that’s not true at all. Even a budget-friendly camera or a smartphone with a decent camera can do the trick when paired with the right techniques.
If you’re using a smartphone, make sure to:
- Use the rear camera (it usually has better quality than the front one).
- Avoid zooming in too much—getting closer to your subject will give you better results.
- Consider getting an affordable tripod to keep your phone steady during shoots.
If you have a DSLR or mirrorless camera, here are a few things to keep in mind:
- Lens: A prime lens (like a 50mm f/1.8) is affordable and gives beautiful results, especially for portraits. It has a wide aperture that lets in more light, helping in low-light situations.
- Tripod: You can find a good tripod for as little as $20–$30. Keeping your camera steady ensures sharper images, especially when you’re taking long exposure shots or shooting in low light.
Backdrops & Backgrounds: Get Creative with Your Surfaces
A plain background is key to keeping the focus on your subject. But you don’t need to spend money on fancy backdrops. Let’s get creative with DIY solutions!
DIY Backdrops
- Fabric: Go to a fabric store and look for large pieces of plain-colored or textured fabric. You can find affordable options, and they’re easy to hang up with some tape or thumbtacks.
- Paper: Use large rolls of kraft paper or even old wrapping paper. These are great for seamless backgrounds.
- Walls: Sometimes, your own walls can be the perfect backdrop. A simple white or pastel wall can make your subject pop.
Props: Scavenger Hunt for Hidden Treasures
Props can add personality to your photos, and you don’t need to buy expensive ones. Look around your home and get creative:
- Thrift Stores: Secondhand stores are gold mines for cheap props like vases, old books, or quirky decorations.
- DIY Props: Make your own props using inexpensive materials like cardboard, paint, or natural items like flowers or plants.
- Household Items: Old furniture, kitchenware, and even fabrics from your closet can serve as props in a pinch.


 Shirley combines her love for photography and design to curate a blog that inspires creativity in every frame. From event planning ideas to capturing candid moments, she covers it all. Shirley’s artistic vision encourages her readers to find and celebrate beauty in both everyday and extraordinary occasions.